If you have been following me on social media for a while I have been talking a lot over the last few months about the launch of my newly updated photography course for moms called Life At Home. The purpose of the course is to empower moms to pick up their cameras and take more intentional photographs of their children. To create artist images that tell the story of their family. Images you can be proud of! I am sharing today 10 beginner photography tips for moms who might be feeling overwhelmed by a new DSLR, or who just want to get inspired to use their phone camera to better document their kids.
I think most mothers feel a pull to document their children’s lives – motherhood is my number one inspiration! Over the years I have learned and practiced this skill, but these tips I am sharing today are the exact things that have helped me to get to where I am today.

1. Turn off your overhead lights
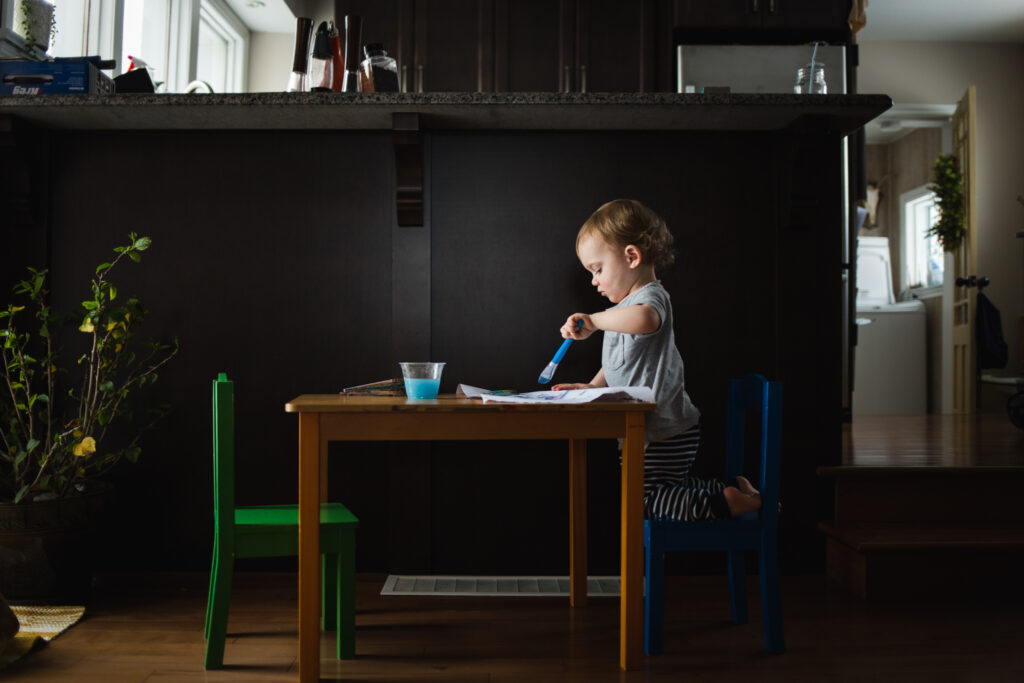
When taking photos inside, turn off your lights and use the window light exclusively whenever possible. Overhead lights can cause unflattering shadows on your subjects face. The temperature of overhead lights is also very different than sunlight, so when you mix overhead lighting with window light, your camera can get confused. This can cause your subjects skin colour to appear slightly different than natural.
2. Learn the light in your house
Taking the time to observe which rooms in your house are brightest, and noting the different times of day can really help you improve your images. If you know your living room is bright in the morning, plan an activity with your child in that room for the morning. If your child’s bedroom gets lovely light in the evening, maybe you document your before bed routine in that room. Taking advantage of the best light in your home will hugely improve the quality of your images!
3. Don’t ask your kids to say “cheese”
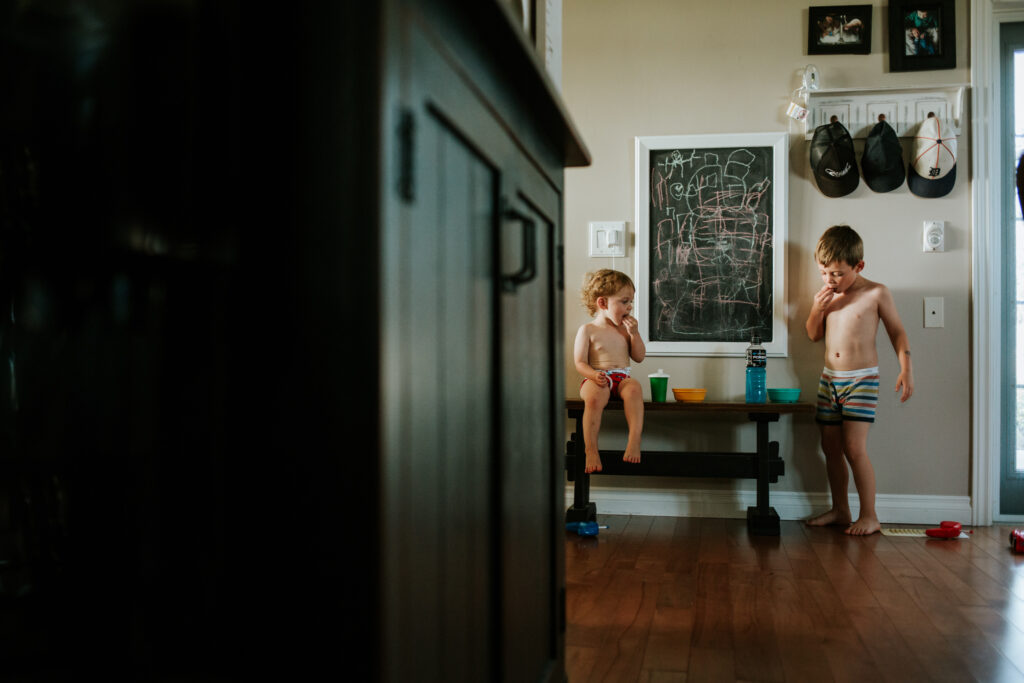
This is a controversial one, but I am a big believer in documenting your children as they are. Portraits of your kids have a time and place, but when we are trying to document the day-to-day magic, don’t make it a priority. I will guarantee your child’s cooperation will increase, and your stress level will decrease. Shift your focus to see the beauty in non-traditional images, such as the back of their head, their side profile, or the different moods they are experiencing on their face.
4. Leave your camera out so it is always accessible
If you are working with a DSLR and getting to know it, I recommend you always leave it out on the counter so it is within reach. When your child is working through an activity or doing something funny, you can quickly grab it. Leaving it out will also give you a visual prompt to encourage you to pick it up more often.
5. Keep your lines and horizons straight
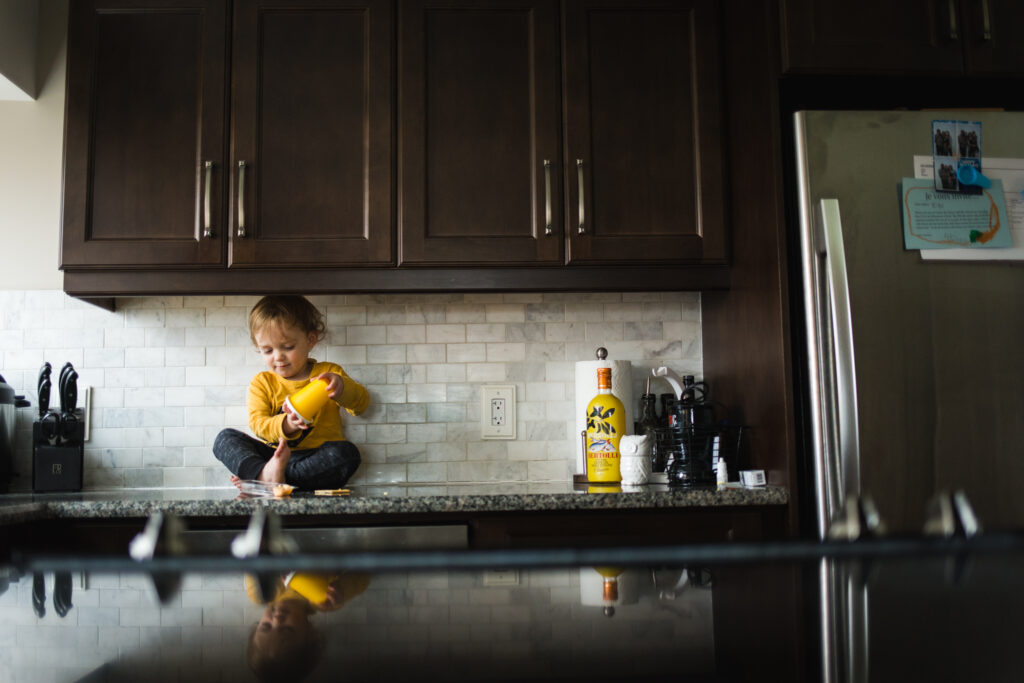
A very easy thing to do in camera! Making sure your horizon lines are straight is a very easy way to remove distractions in your pictures. If you’re indoors, use door frames or floors to straighten yourself up. You can easily add a grid line to your phone camera or DSLR – here is a quick tutorial for your iPhone!
6. Take 3 different images each time
Move around! Being sure to include 3 different perspectives of whatever you are photographing is a great tool to help improve your storytelling, as well as your camera skills! Try taking a wide shot of the entire space, a second with your subject filling most of the frame, and a third close up of the details (ie. hands, feet, hair, etc).
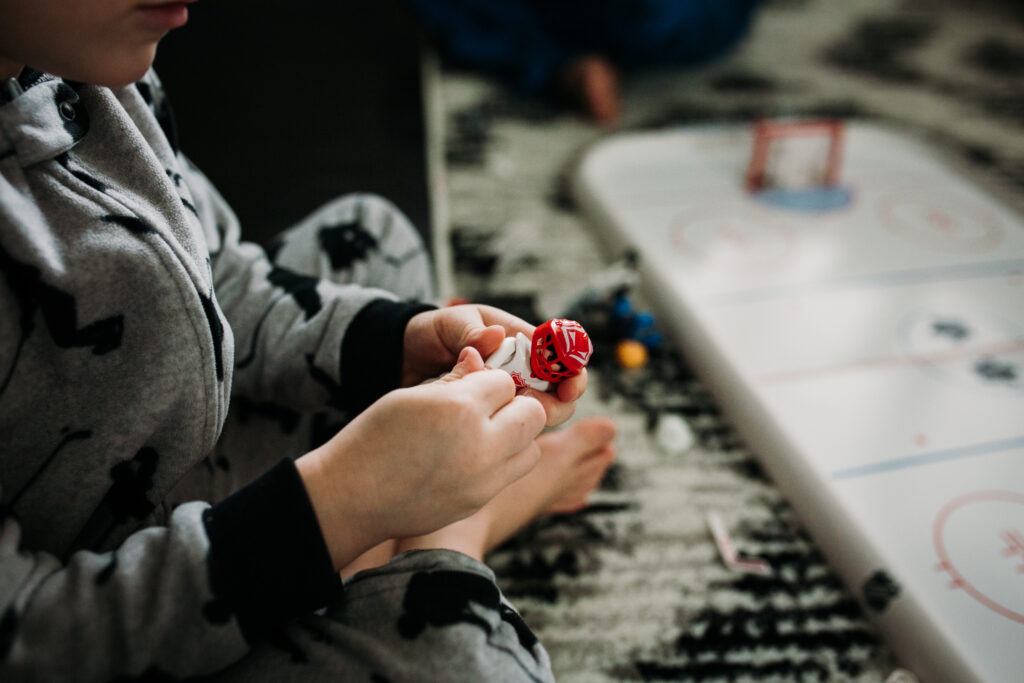
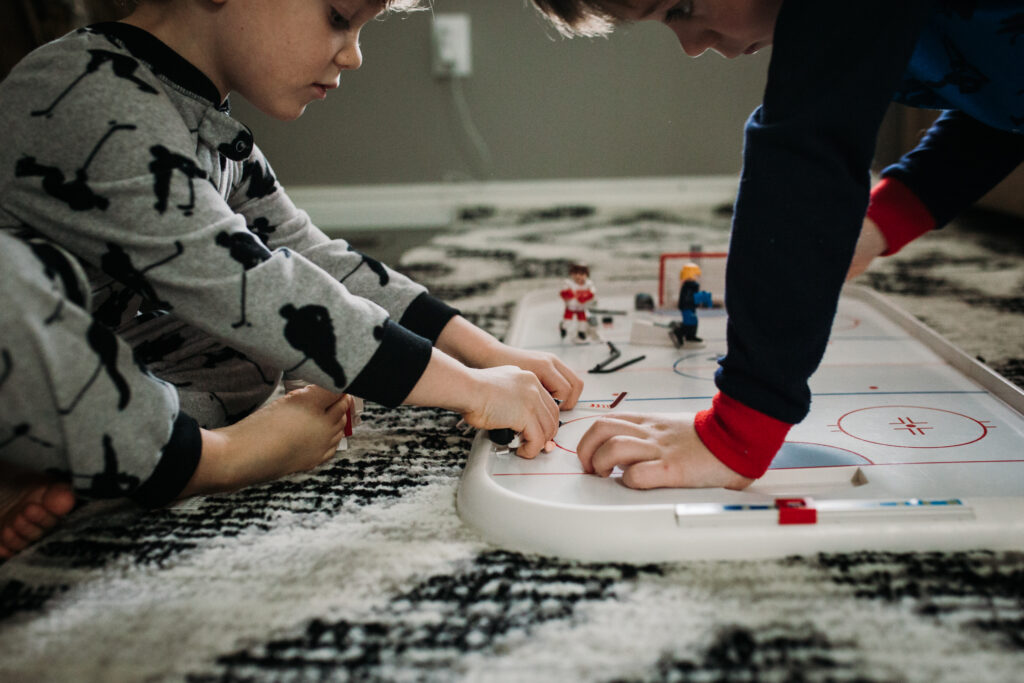
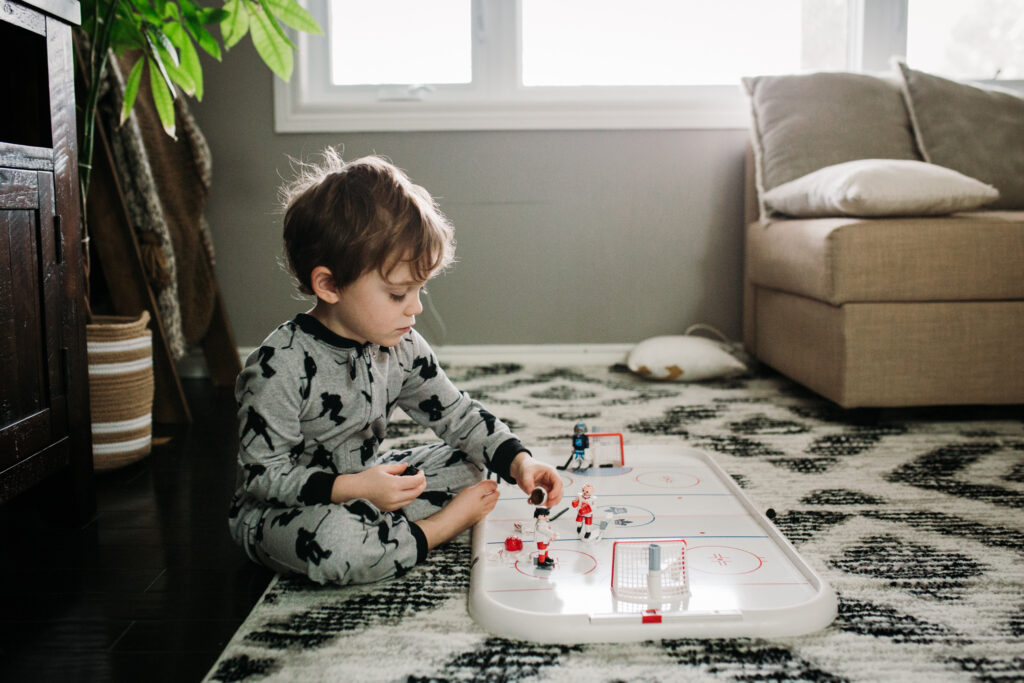
7. Stay engaged in the moment
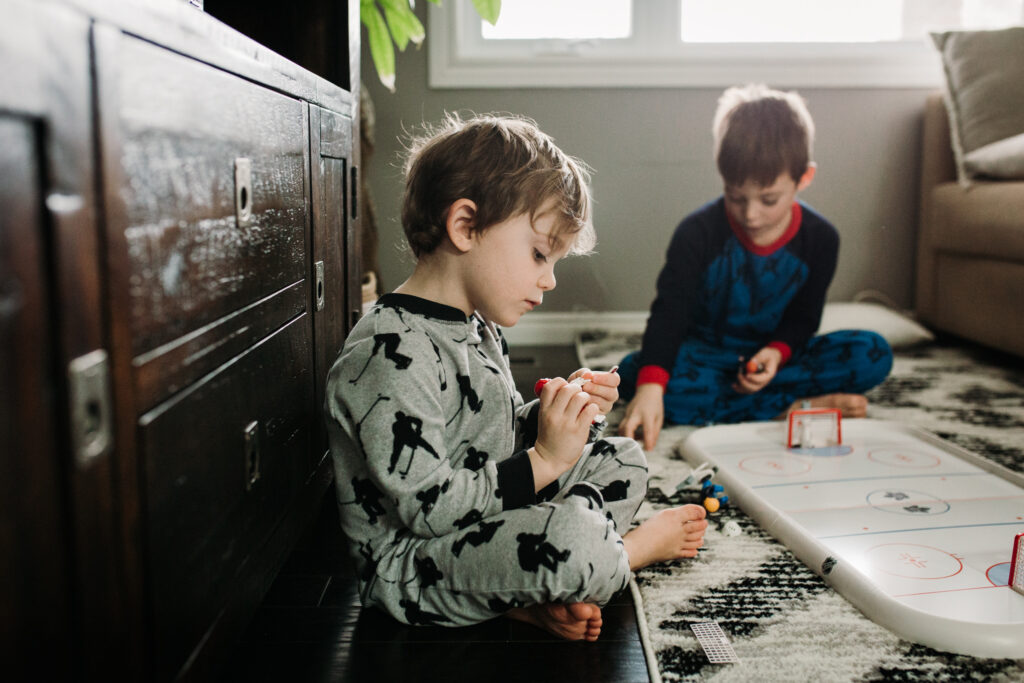
If you are looking for authentic storytelling images, be sure to still be an active participant in the moment. Just because you pick up your camera, doesn’t mean you are now an outsider. Keep the conversation flowing. Set your camera down while you play with your child, and pick it up every few minutes. Staying engaged in the moment ensures you can create authentic storytelling images, and you are guaranteed genuine expressions out of your children.
8. Use the Rule of Thirds
The rule of thirds is described as splitting your image with two evenly spaced vertical lines, and two evenly spaced horizonal lines. By placing your subject on the intersection of those lines, it helps create a more visually pleasing image. Keeping the rule of thirds in mind while you are photographing your kids can be a very quick and easy way to improve your every day images!

9. Take photos daily
If you are new to photography, making an effort to take your camera out daily is a sure way to improve quickly. Practice makes progress, right? When I was just starting out in photography I completed a 365 project (one photo a day for a whole year), which allowed me to master my camera and create a gorgeous album outlining our year together!
10. Don’t forget the details
Sure it is nice to have your camera roll full of images of your kids smiling at the camera. But there is so much value and story in the details. Dirty boots, messy hair, favourite toys – just to name a few. Incorporating images of these sorts of details will help round out the story you are telling about your family.
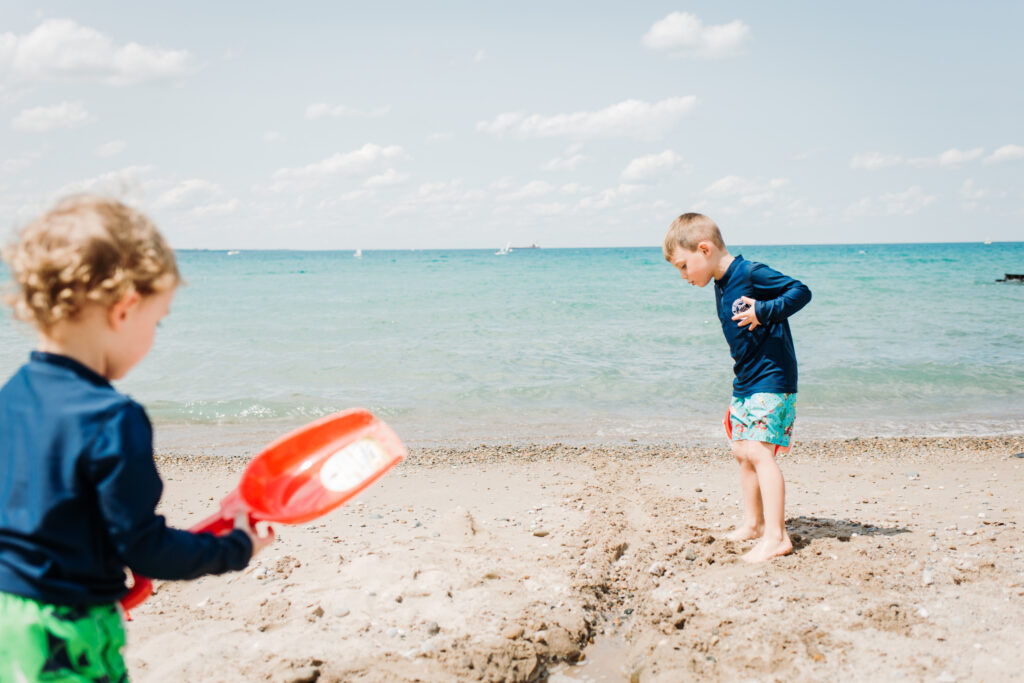

Documenting your day to day with your kids doesn’t have the be all “look at me and say cheese!”. Have fun with the process, and take your time to document the little details that make your life fun. Only you can tell your story, and I know with a little effort you and your family can reap the benefits for generations. I talk about all of these things, and many more, in my e-book Life at Home, available for purchase. It is jam packed with tips, examples and education on embracing the chaos of your daily life and documenting your family as you truly are. You can read more about it and purchase it here!